From Mimi’s recipe box
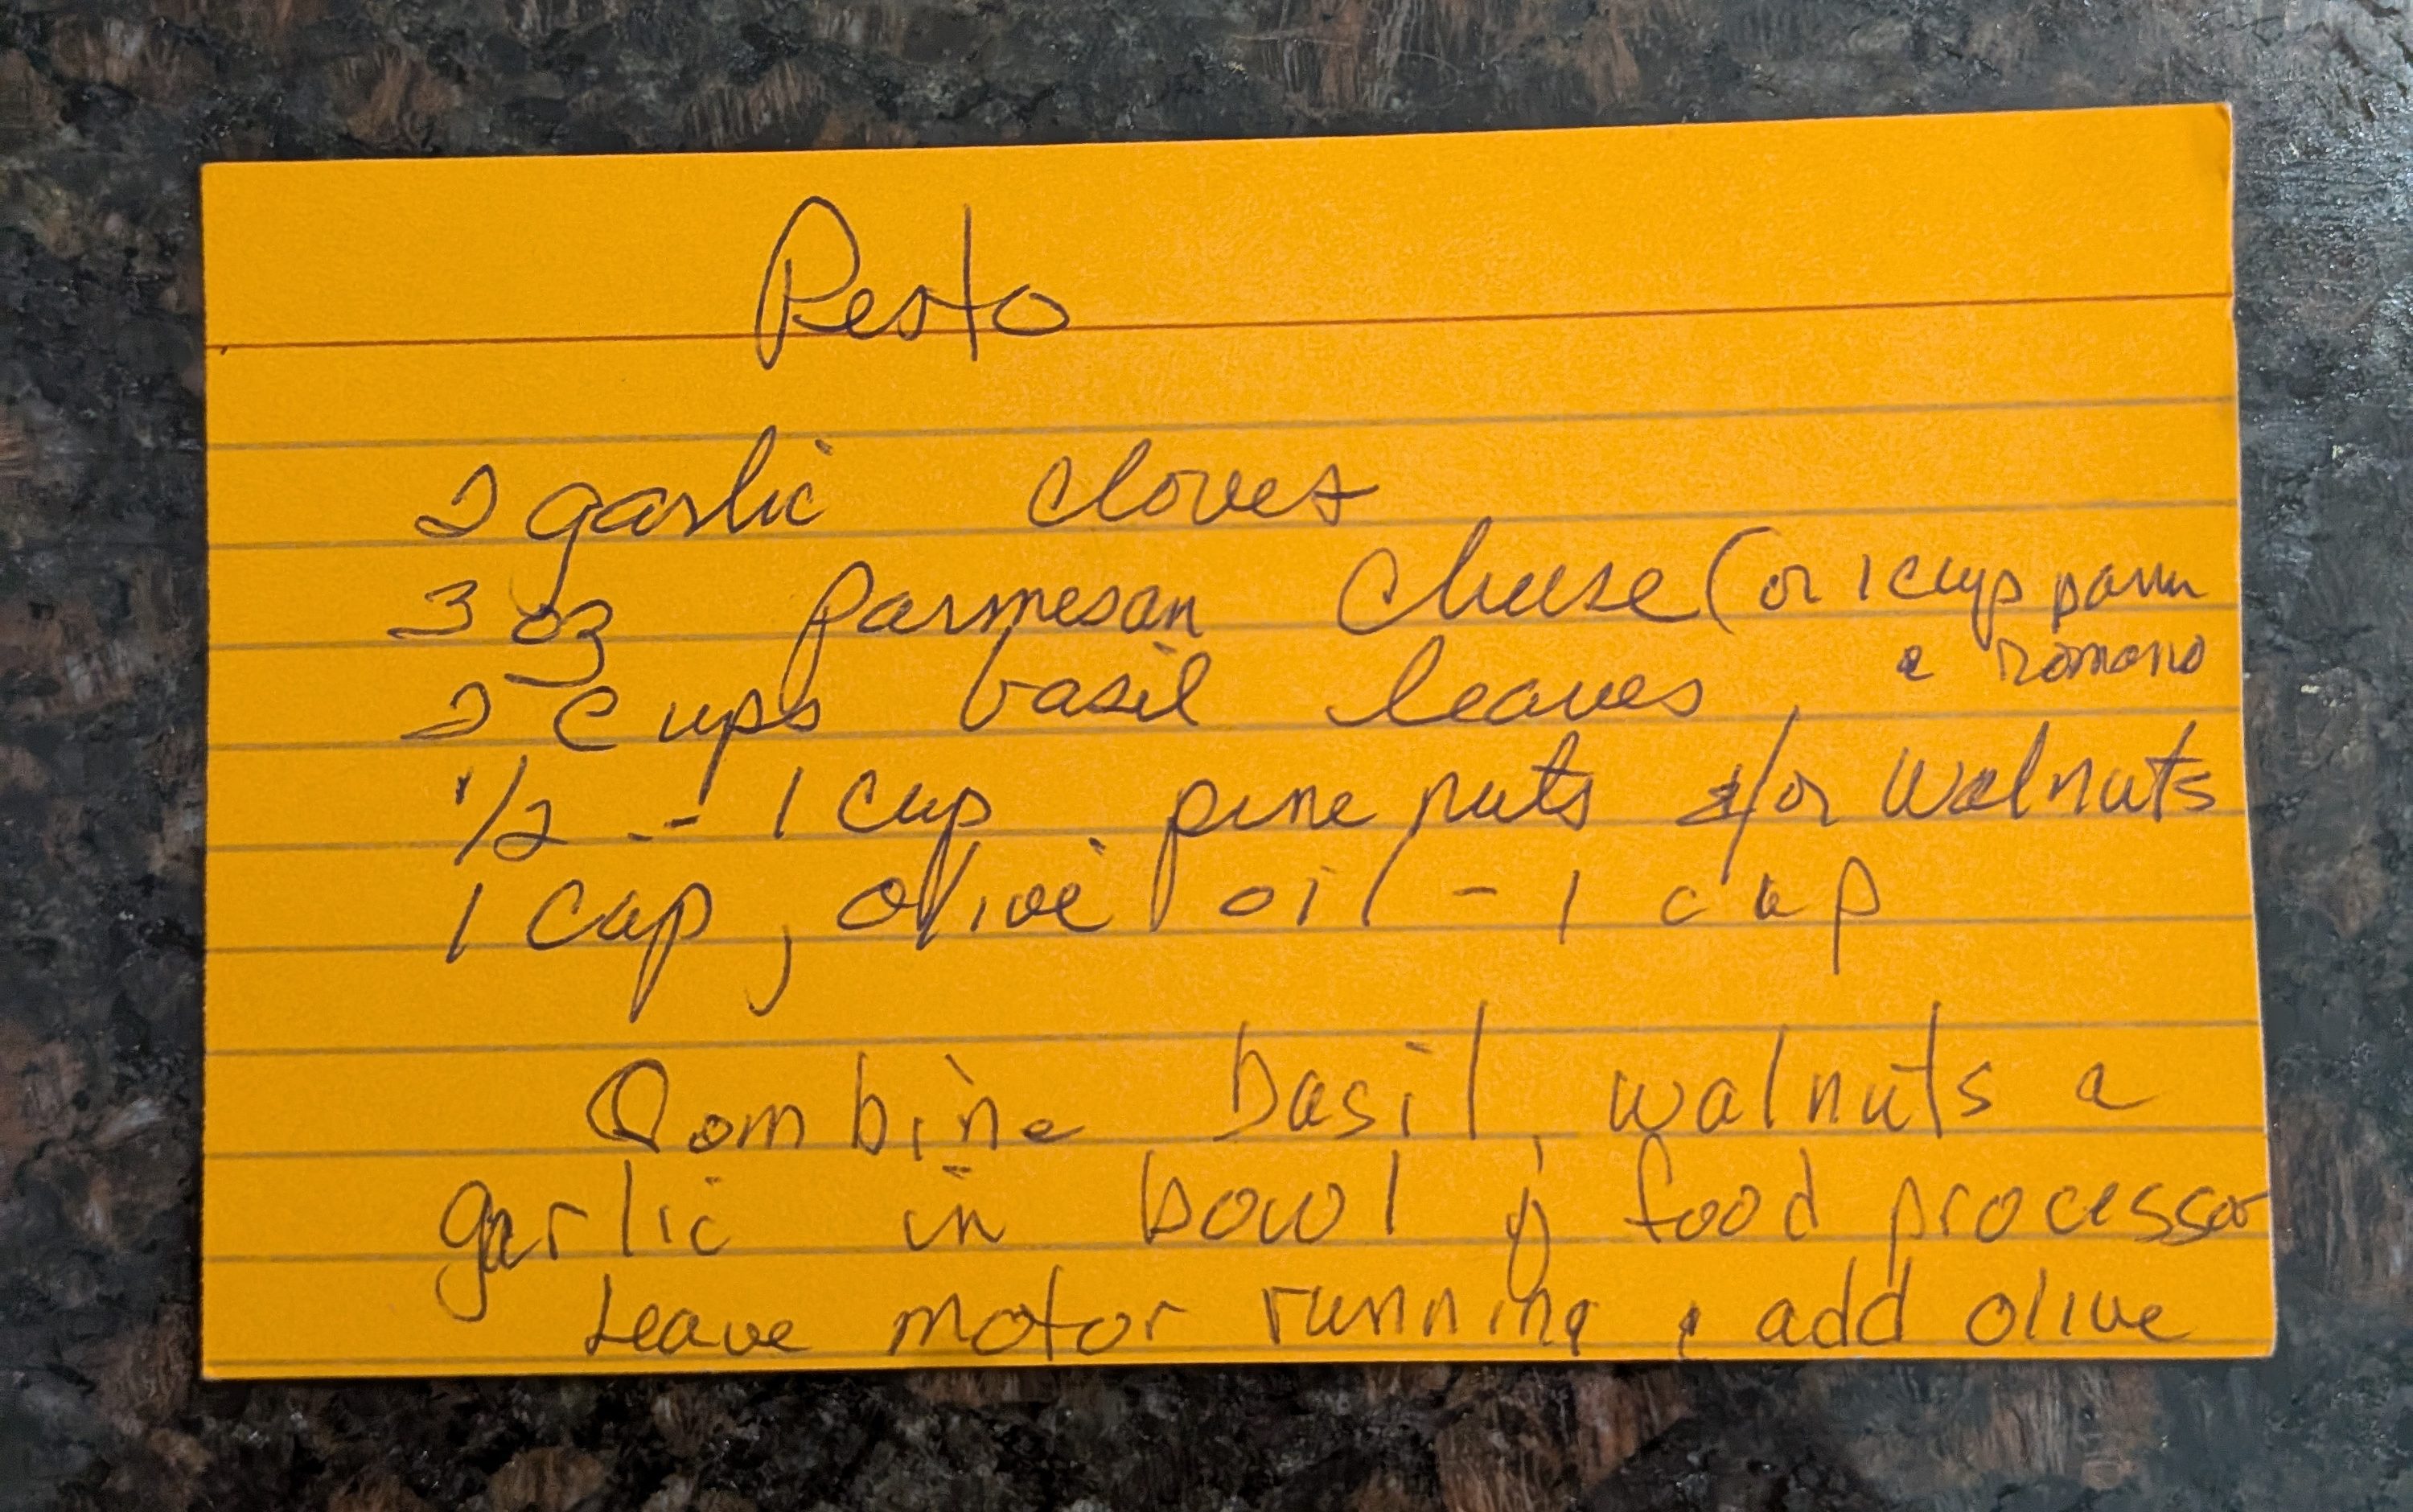
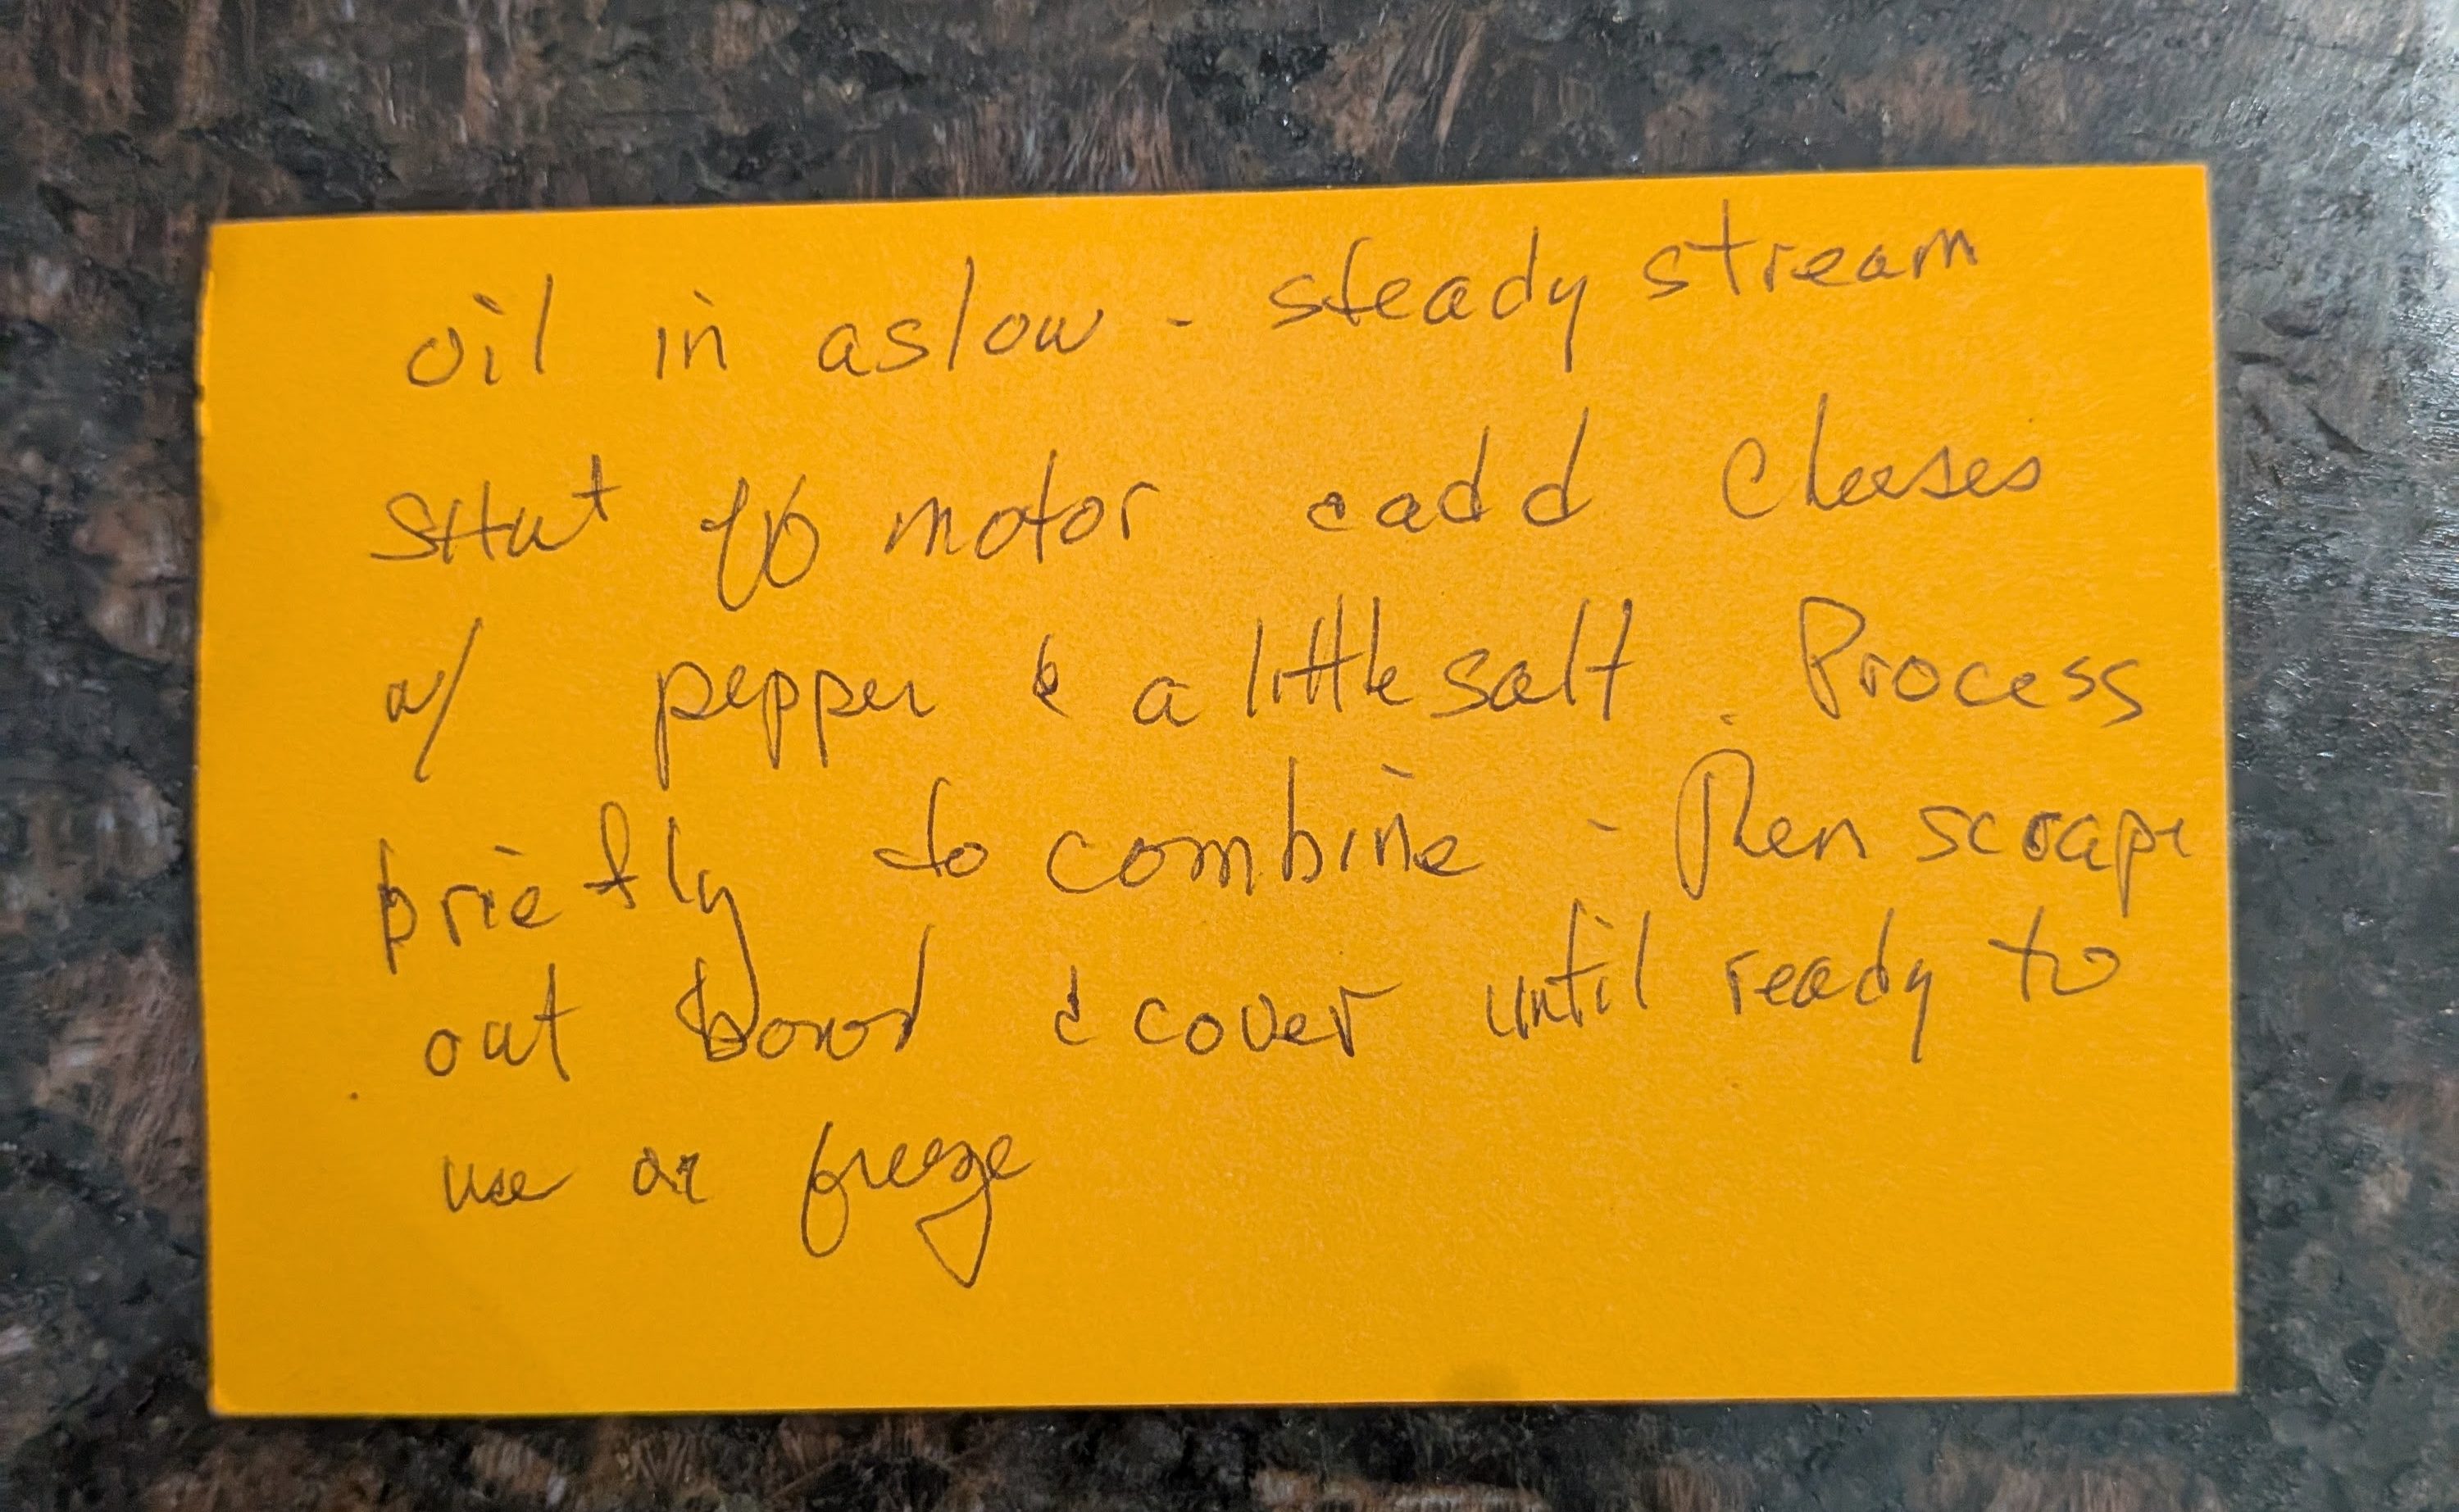
As with many of the recipes in Mimi’s box, I am not sure if the recipe originally came from my mom or from Mimi. There are even printed out emails with recipes from my mother folded up in the box! Either way, pesto has always been one of the things I look forward to most every summer.
This year, my herb garden is thriving, so I am making a batch out of my own Tuscan basil. The leaves on this variety are huge!
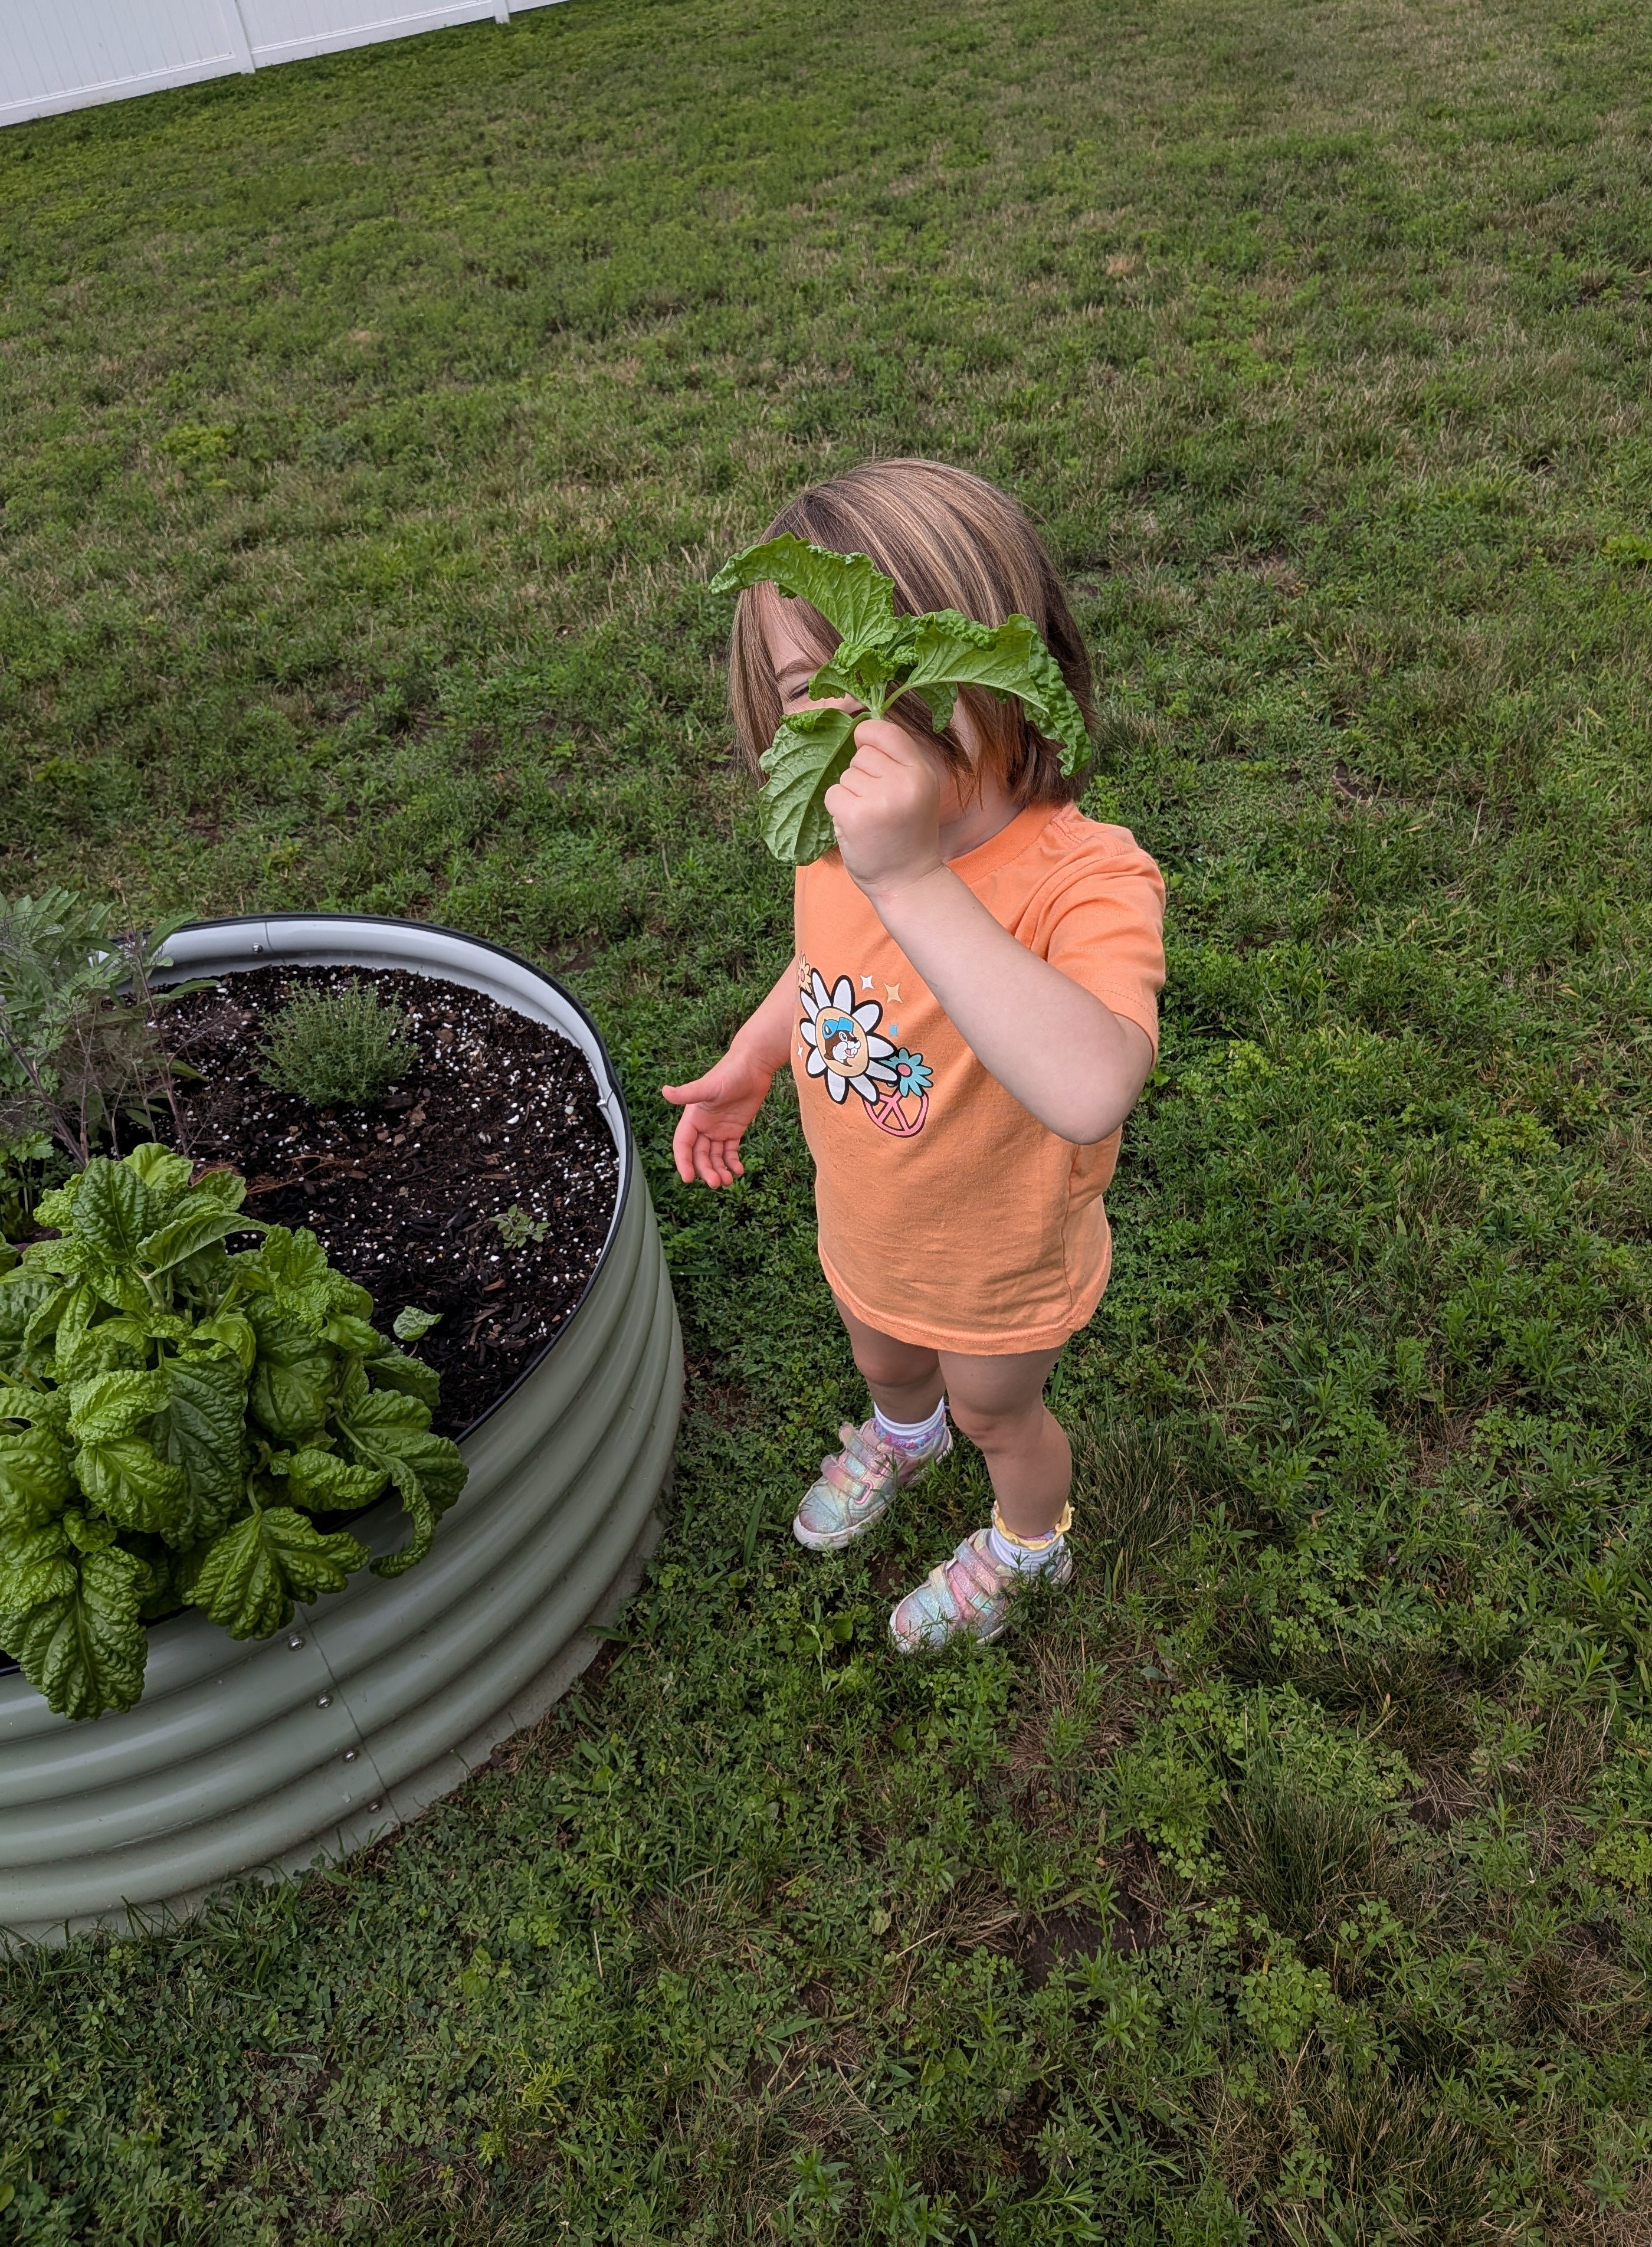
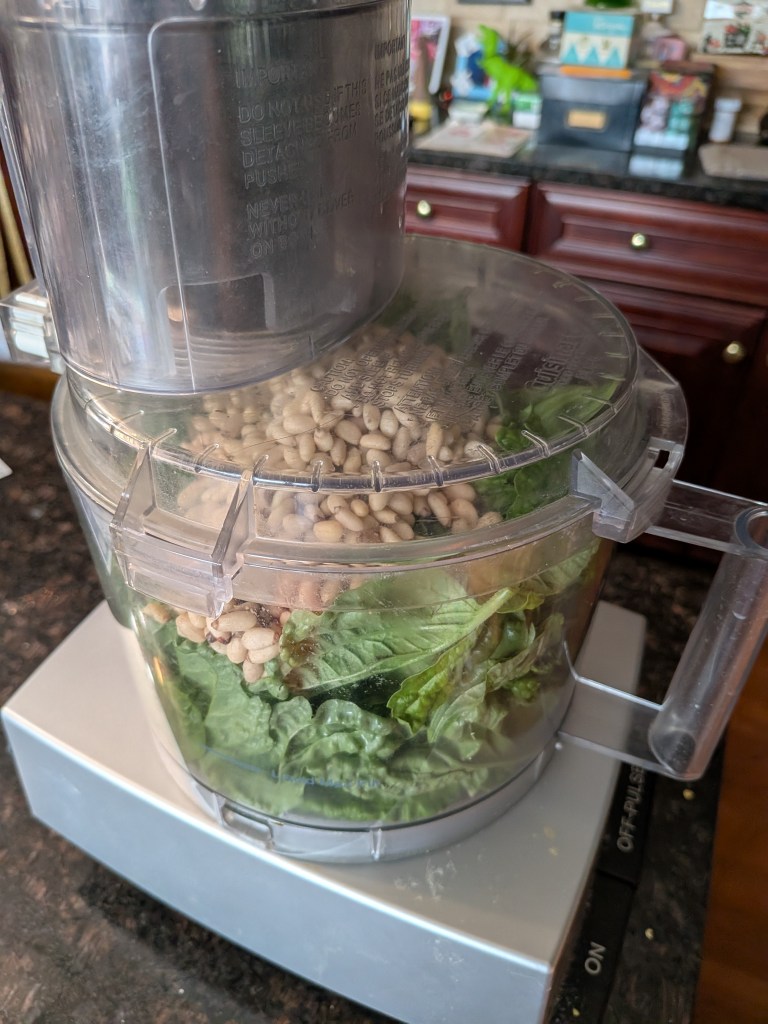
We stuffed our harvest into the food processor, probably exceeding the 2 cups called for in the recipe by a bit.
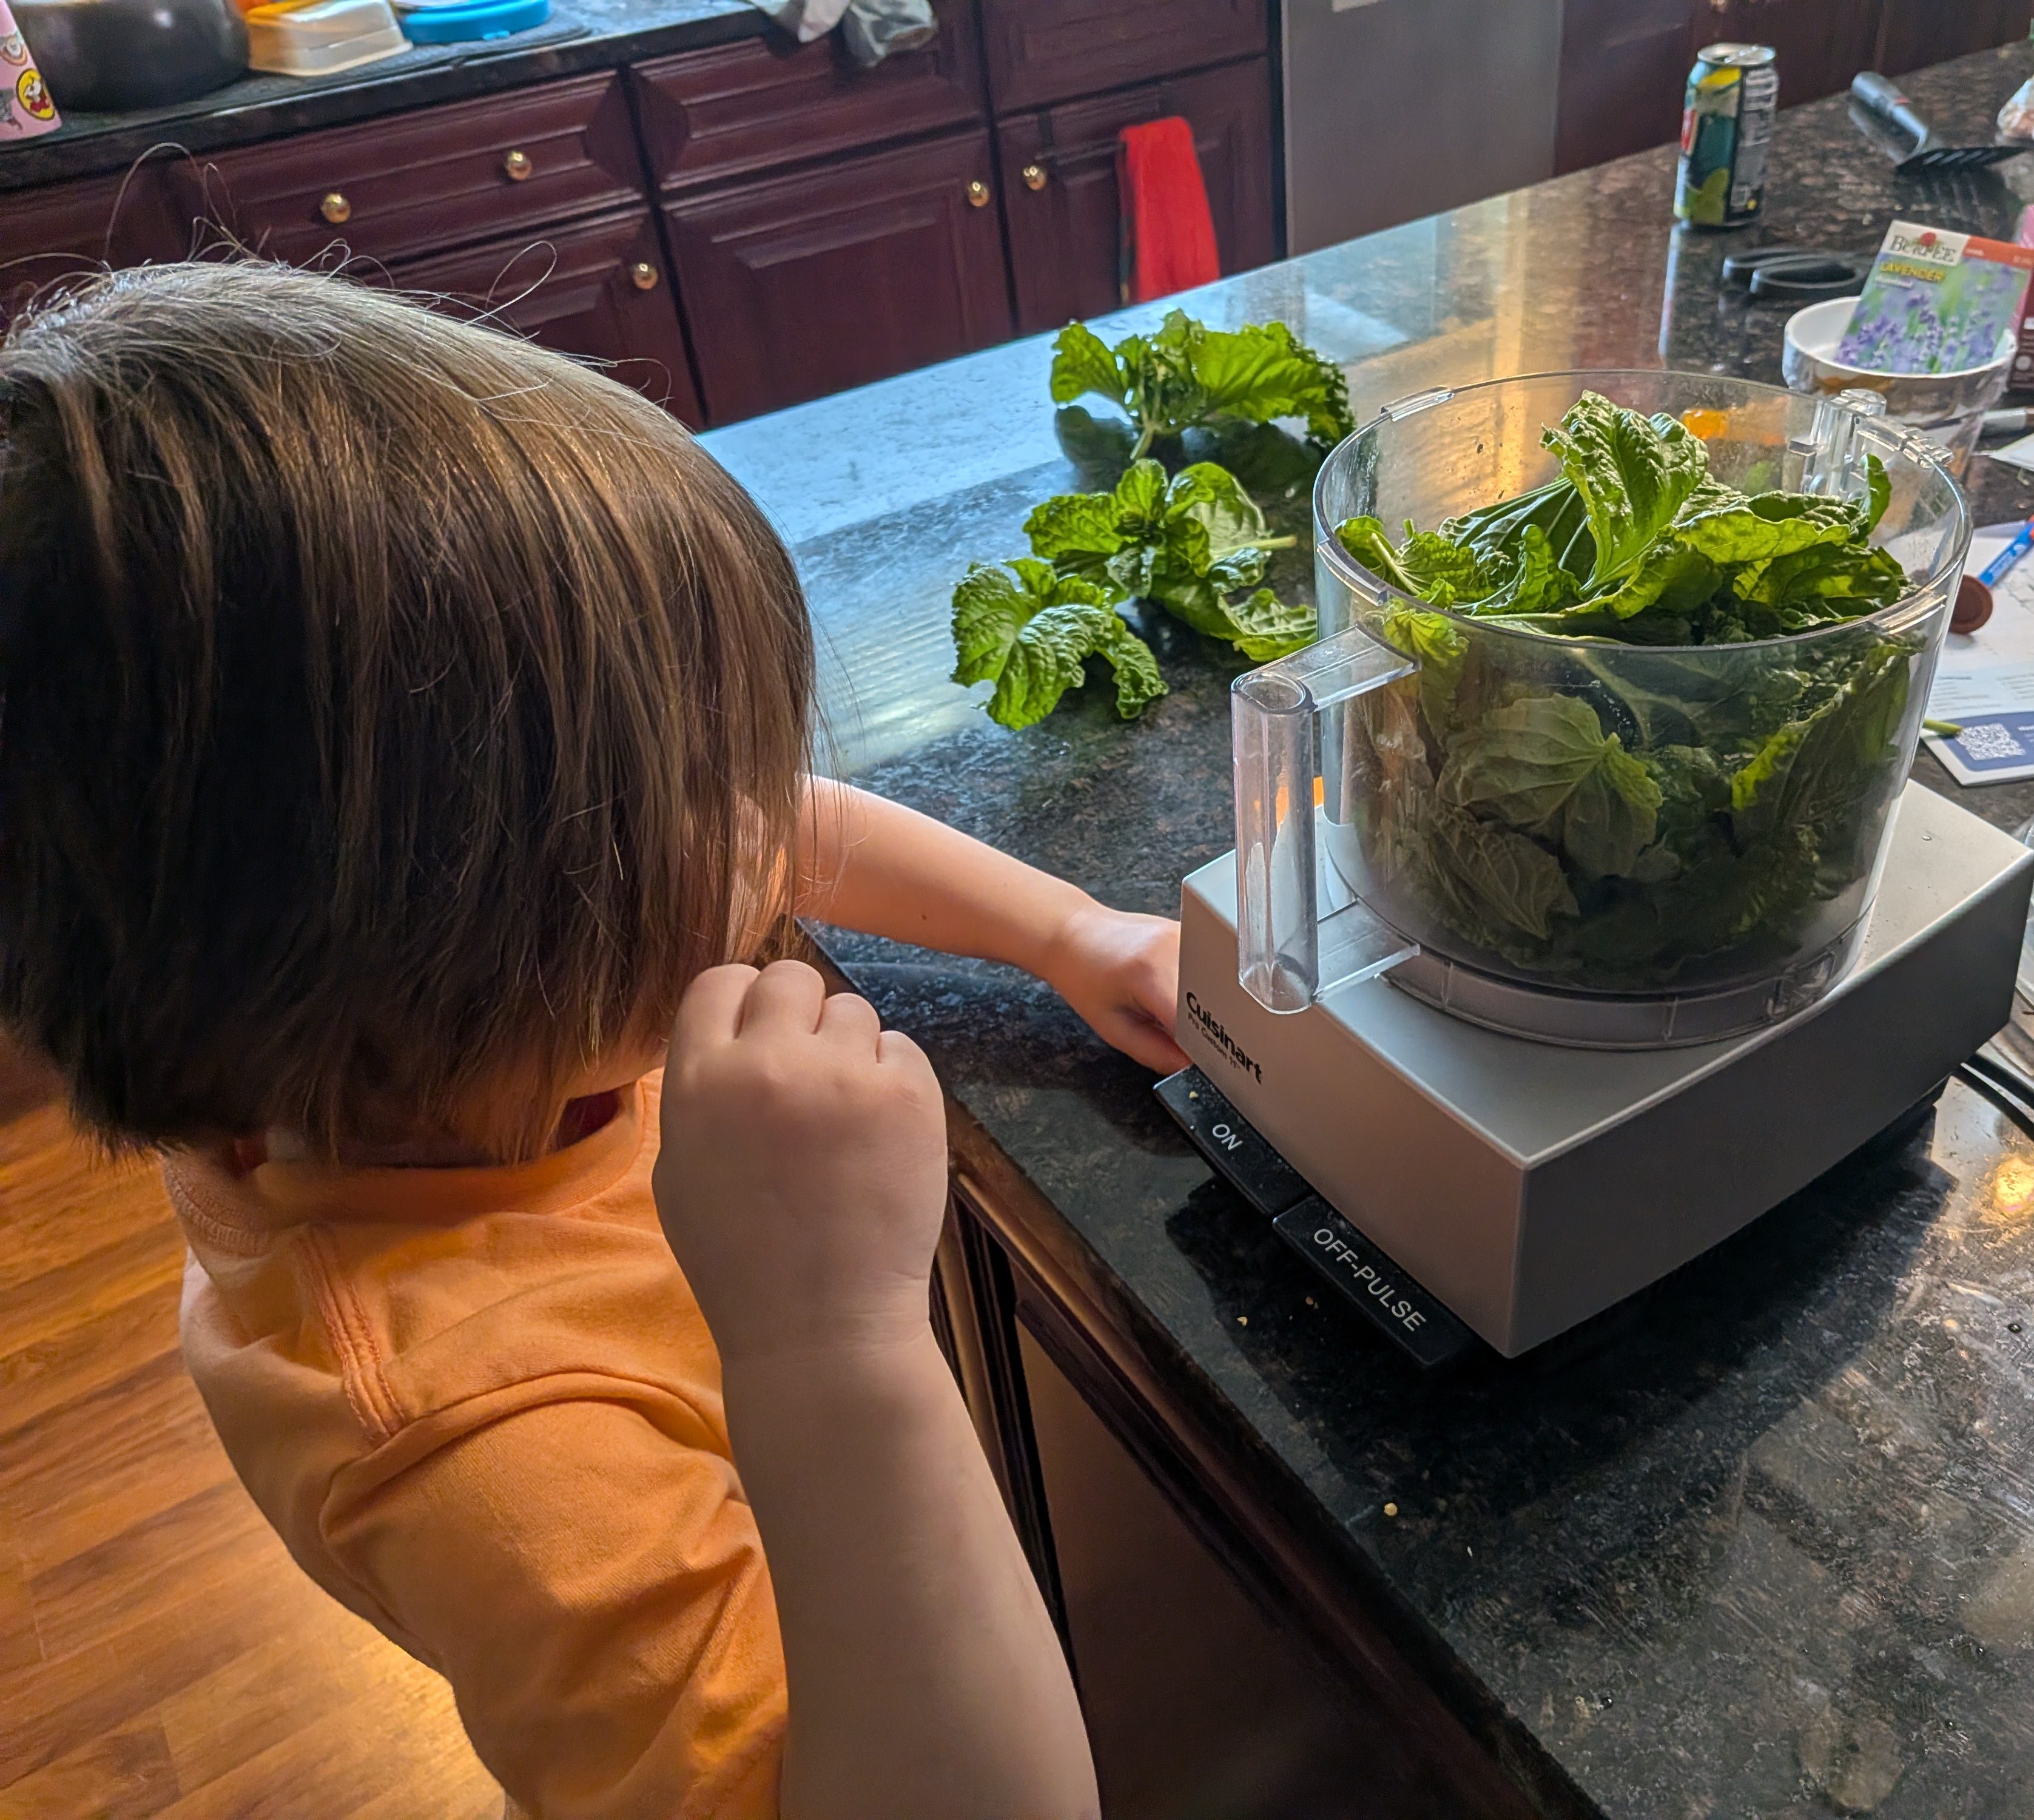
Next add the nuts and garlic to the bowl, and start chopping.
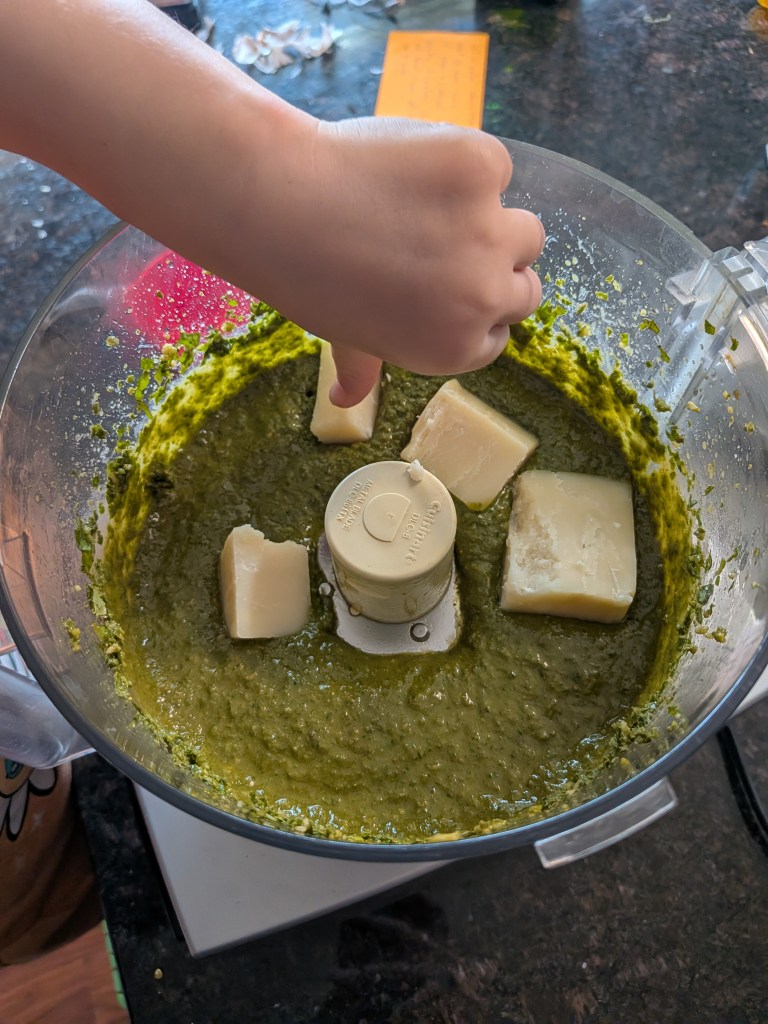
Open up the top of the food processor, and pour the oil in a thin stream with the motor running, until everything is blended. Then add the cheese and pulse until it is incorporated.
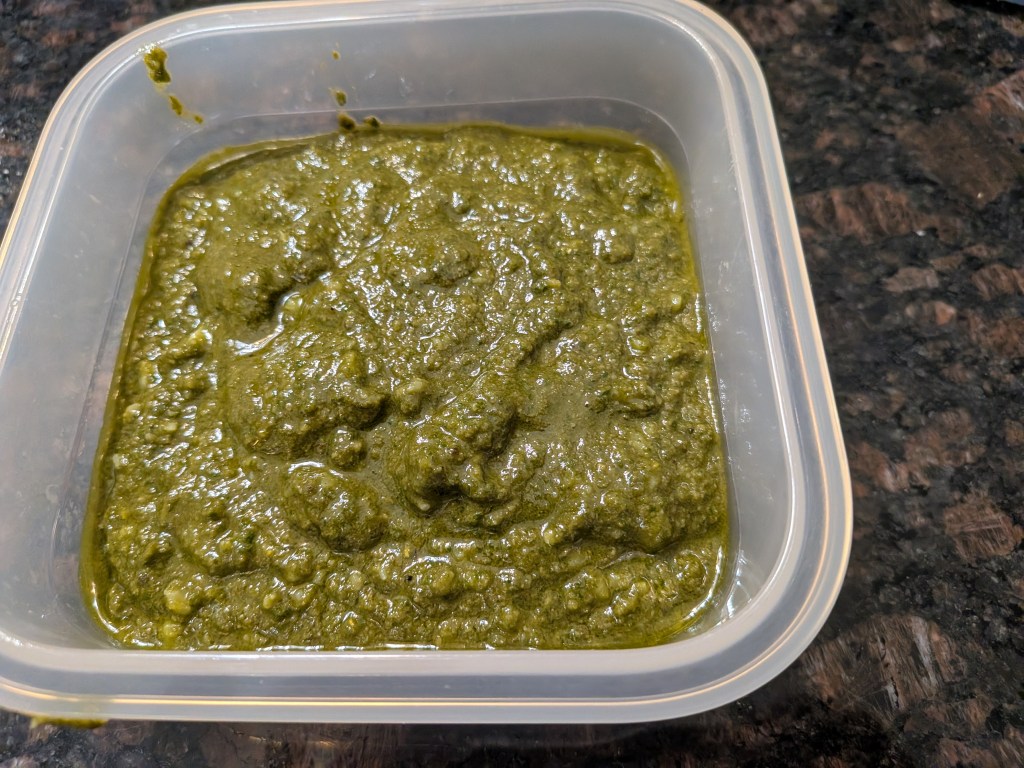
It really isn’t much to look at, but this stuff is seriously delicious. It freezes super well, so you can enjoy the fresh basil taste year round!
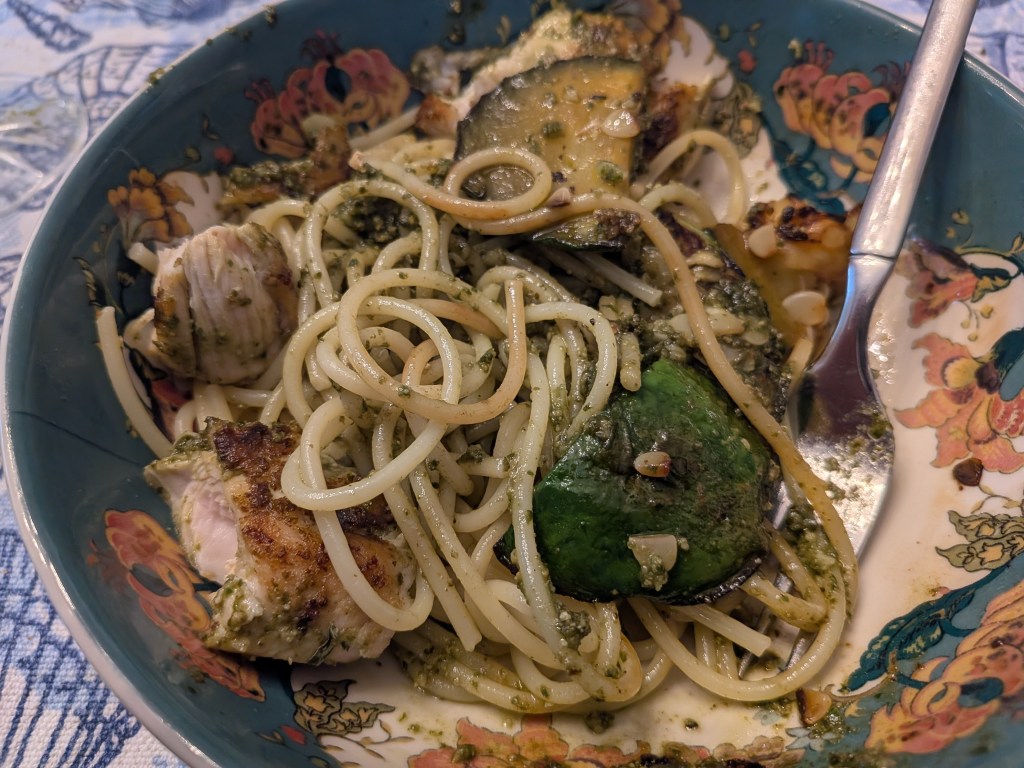
This time we ate it with pasta with chicken and zucchini, but it goes great in pasta salads, or with grilled meats and vegetables. If you have never made your own home made pesto, give it a try! It is so much better than any store bought pesto I have ever tried.
Pesto
Recipe by

Servings
enough for multiple dishes

Prep time
15 min

Cooking time
—

Calories
who’s counting?
Ingredients
- 2 cups basil leaves
- 2 garlic cloves
- 1/2-1 cup pine nuts and/or walnuts
- 1 cup olive oil
- 3 oz parmesan cheese
Directions
- Put the basil leaves, nuts, and garlic in the bowl of a food processor
- Pulse a few times to chop, and then with the motor on drizzle the olive oil in a slow stream into the food processor
- Add the cheese along with some salt and pepper, and pulse until combined.
- Cover until ready to use or freeze.
Notes
Use in any recipe that calls for pesto. Goes especially well with pasta and chicken. Freezes very well!


Leave a Reply